



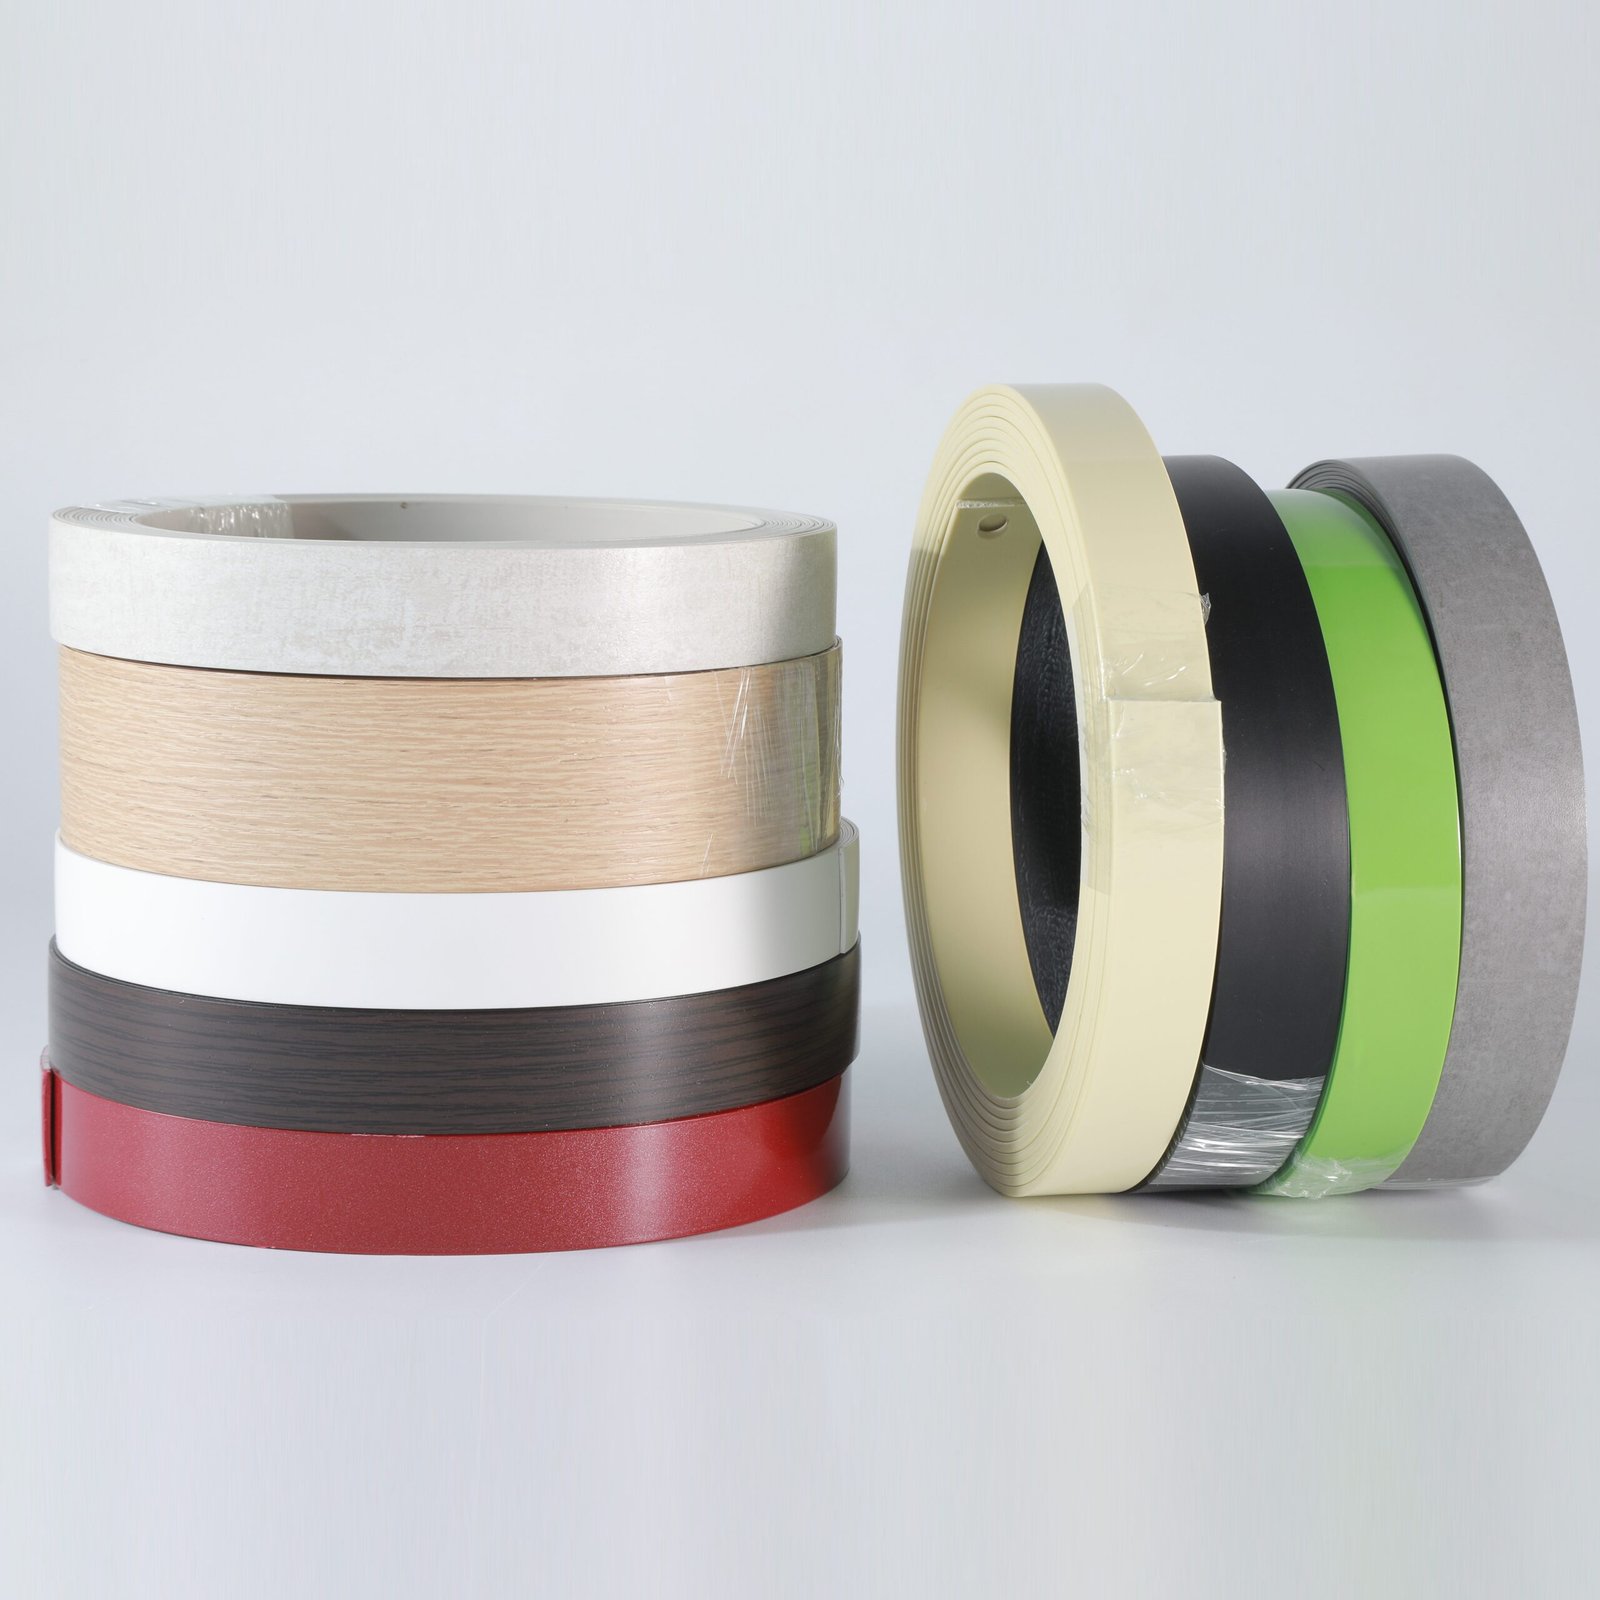
Best Edge Banding for Plywood — A Complete Selection Guide
The edges of the plywood are unique from all other edges that you will be banding. MDF and particleboard can be cut clean and uniform, plywood cannot. It has a veneer edge that is made up from layers of hard grain and soft grain, layers of glue, and some voids, and the surface fuzzes when a saw comes in contact with it. Hence, the best edge banding for plywood is seldom what is being used on the MDF line, and why shops that use all edge banding the same end up with delamination and rework.
This guide is written for cabinet shops, furniture makers, and joinery workshops that edge plywood daily. It explains how to find the best edge banding for plywood — which edge banding material and adhesive to choose, how to prepare the edge so the band stays on, and what to check before committing to a supplier.
Why Plywood Edges Fail Differently from MDF?
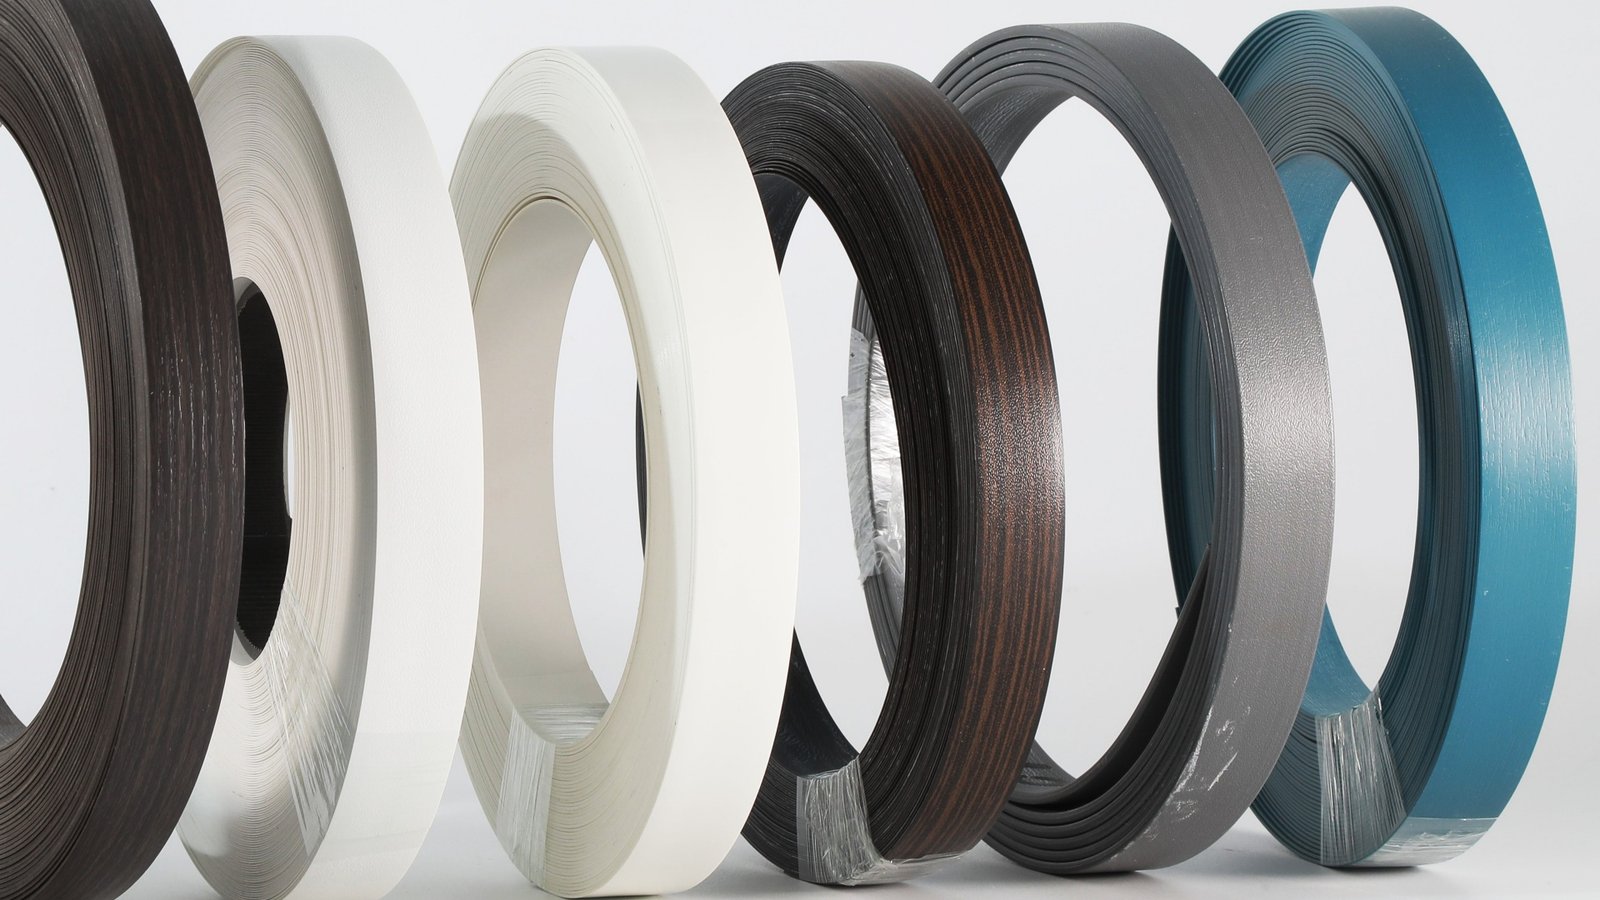
The glue film, the temperature and the quality of the edge banding are predictable reasons why edge banding fails on MDF. Plywood introduces an entirely new set of variables which are unrelated to the adhesive.
The most obvious is the multiple layers. Alternating long grain and cross grain veneers are exposed when cutting plywood, with different rates of adhesive absorption and flexing. A glue that adheres well to the hard long grain ply could adhere poorly to the soft cross-grain ply adjacent to it — and the band begins to lift where the cross-grain ply is.
The second is surface roughness. On cutting, the edges of plywood get fuzz and torn, creating a micro-ridged surface. Edge band without preparation to that and the adhesive only bonds to the high spots, creating voids under the edge band where delamination begins. Even the best plywood has gaps in the core and no glue will adhere to air.
All this does not imply that plywood can’t be edged well. It is the selection of the best edge banding for plywood, and the preparation of the edge before the edge band comes in contact with the panel.
Preparing the Plywood Edge Before Banding
The edge preparation is more critical for plywood than for any other material. The most frequent cause of failure of plywood edge banding, irrespective of the type of material or glue, is skipping this step.
Sanding the cut edge
The edge of a new piece of plywood has saw marks and fuzz. Use 120-150 grit sanding to smooth out the high spots and eliminate fuzz from the saw. This ensures the adhesive is able to wet out uniformly over the entire edge. This step is not a choice on ply wood, it’s the difference between full contact and 70% contact.
Filling voids and open seams
Inspect edge for voids prior to banding. A thin layer of adhesive which penetrates and seals the gap is an acceptable solution for small gaps, or a wood filler that is compatible with the wood to be used. If there are large voids, they should be repaired or the panel rejected. If there is a gap between the edge banding, it will show through the edge banding and be a failure point for the peeling.
Moisture check
Plywood is more moisture prone than MDF, particularly in humid workshops or where stored near exterior doors. When edge banding is placed on a wet edge, moisture gets trapped between the edge and the adhesive, leading to failure of the adhesive and the swelling of the edge of the veneer. Before banding, ensure that the edge is dry (usually below 10-12% moisture). This is usually done in humid climates by conditioning panels in the shop for 24 hours prior to edging.
Dust removal
Sand and fill, then wipe edge clean. Sawdust in between the substrate and the adhesive is a bond killer! All other decisions in this guide are based on the premise of a clean, dry, smooth edge.
Choosing the Best Edge Banding for Plywood: Material Options
Once the edge is prepared, the next question is material. The best edge banding for plywood depends on what the panel is used for and what the edge should look like.
Wood veneer edge banding is the natural match for plywood. It is real wood, moves with the same moisture behaviour as the plywood face, and sands and finishes to match. For plywood with exposed wood faces — birch, oak, maple — veneer is usually the best edge banding for plywood because the edge truly disappears. The trade-offs: it is thin, needs careful sanding, and requires proper adhesive and pressure to avoid blisters.
PVC edge banding is the workhorse for plywood panels that will be painted, laminated, or used internally. It is durable, moisture-resistant, available in any color, and runs fast on automatic machines. The catch: PVC does not move with the wood. On large plywood panels in humid environments, a rigid PVC band can stress the bond line — flexible or impact-modified PVC reduces this risk.
ABS edge banding sits between veneer and PVC. Tougher, more flexible, and better under impact — useful for worktops, trolleys, and heavy-use furniture. It also has higher heat resistance.
Melamine edge banding is used when the plywood face is laminated with melamine. It matches the laminate surface and is economical for internal components, but it is thin and not for impact-prone edges.
Real wood edging strips are the traditional premium solution — a solid strip of the same species glued to the edge. For thick plywood tabletops and high-end cabinetry, a solid hardwood edge is often the best edge banding for plywood because it is strong, sandable, and fully repairable.
Choosing the Adhesive for Plywood Edge Banding
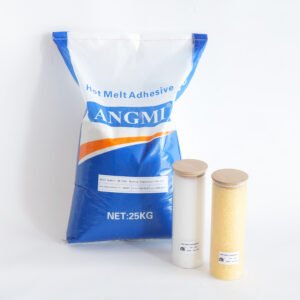
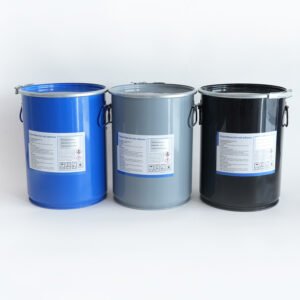
The only place plywood outshines MDF is in the glue. The decision as to choice is due to two factors: surface texture of the rough multi-layered and the water absorption properties of the wood.
For most interior uses, edge preparation and the correct temperature are sufficient to allow the use of EVA hot melt on plywood. Apply at a higher temperature (usually 180 to 200°C) than for MDF since the wood edge will absorb heat and the glue must remain fluid long enough to wet the rough wood veneer surface. The longer open time, the higher tack EVA is fed into the fuzz and layer gaps prior to pressing.
PUR reactive adhesive is the better option for extreme applications. PUR cures by moisture reaction — and wood is moist — so it cures more thoroughly into the surface of the plywood than EVA and doesn’t delaminate when the plywood moves in the humid and dry seasons, or cycles back and forth between the two extremes. PUR is typically the best edge banding for plywood used outside, in kitchens, bathrooms or any environment that is subject to change.
A useful rule: if the plywood edge is prepared and the panel stays indoors, high-tack EVA is enough. If the panel faces moisture, temperature change, or heavy use, move to PUR — the cost difference is small compared with a delaminated edge in the field.
Pressing and Trimming Plywood Edge Banding
Plywood needs pressure during bonding, and it needs the right trimming approach after.
Pressure matters more than on MDF
Because the plywood edge is uneven at a microscopic level, the pressure roller must push the band fully into the fuzz and micro-roughness while the adhesive is still fluid. On automatic machines, use higher roller pressure for plywood than for MDF — typically 0.4–0.6 MPa — and consider a longer pressure zone if the machine allows it. On manual work, a solid caul and clamps, or a veneer press, give the even pressure the bond needs.
Trimming veneer banding needs sharp tools
Veneer edge banding is sanded, not just cut, and the sanding must follow the grain direction to avoid tearing the thin veneer. Start with a flush trim bit, then finish with 120→180→220 grit. PVC and ABS trim with standard carbide or diamond cutters; keep them sharp to avoid whitening on dark colors.
Watch the end grain
At the corners of a plywood panel, the edge banding must wrap or be mitered cleanly. End-grain plywood sections absorb adhesive aggressively and are the most common place for a band to lift. Over-apply adhesive at the ends and hold pressure a beat longer at the corners.
Common Plywood Edge Banding Failures and Fixes
These are the defects you will actually see on a plywood line, and what they point to.
Edge band lifting along a single layer
If the band peels but only where a cross-grain ply sits, the adhesive did not wet that layer. Fix: sand the edge more aggressively to level the layers, and switch to a higher-tack or longer-open-time adhesive.
Blisters under veneer banding
Air pockets trapped between the veneer and the plywood edge. Usually caused by insufficient pressure or applying veneer over an unprepared (fuzzy or dusty) edge. Fix: re-sand, clean, and press again with higher, more even pressure.
Band peels at a corner
Almost always end-grain absorption or a void at the corner. Fix: fill the corner void, apply extra adhesive at the ends, and hold pressure at the corner during pressing.
Wrinkling or bubbling after installation
The panel moved with moisture and the band could not follow. This is the classic PVC-on-large-plywood problem in humid environments. Fix: use veneer banding, flexible PVC/ABS, or switch the adhesive to PUR.
Whitening on dark bands after trimming
Dull cutters or brittle material. Fix: sharpen or replace the cutter, and check that the banding material is impact-modified.
Matching Edge Banding to Plywood Projects
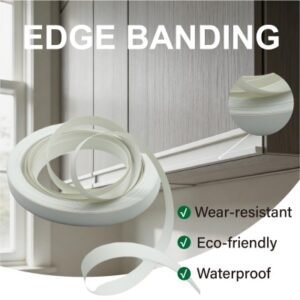
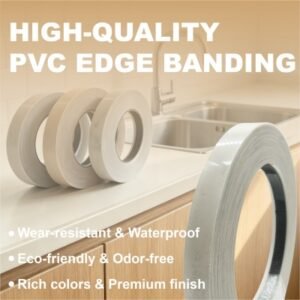
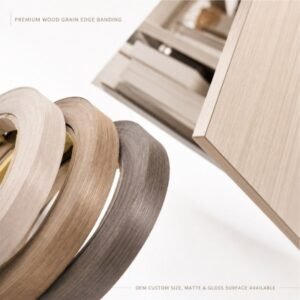

Different plywood uses call for different answers, and the best edge banding for plywood in one shop is not the best in another.
Cabinet boxes and internal carcasses in birch or hardwood plywood — sand the edge, use high-tack EVA with PVC or ABS banding for speed, or veneer banding where the interior is exposed and stained.
Painted plywood furniture — PVC banding in the paint color, bonded with EVA at higher temperature. The painted face hides the edge, so the priority is a durable, moisture-stable band.
Tabletops and work surfaces in hardwood plywood — a solid hardwood edge, or thick veneer banding with PUR. These edges take contact and need to be repairable.
Kitchen and bathroom plywood cabinetry — PUR adhesive with PVC or ABS banding. Moisture resistance drives the decision; EVA will eventually fail in these environments.
Plywood panels for exterior or marine use — waterproof adhesive (PUR or exterior PVA) with veneer or metal-edge options. Standard edge banding materials are not designed for weather exposure.
Decorative plywood with visible face veneers — veneer edge banding of the matching species, sanded and finished as one surface. This is where the best edge banding for plywood is judged purely by whether the edge disappears.
Testing Edge Banding on Your Own Plywood Line
A short trial on your own plywood, your own machine, and your own edge preparation is worth more than any datasheet. Run this before committing volume:
- Band test panels from the same plywood batch you use in production, with your standard edge preparation.
- Apply the band at your normal settings, then perform a peel test — pull the band off by hand and check whether it takes plywood fibres with it. Fiber tear means the bond is stronger than the substrate.
- Leave test panels in a humid room and a hot room for 48 hours, then inspect for lifting, blistering, and band movement.
- Trim and finish the test panels exactly as you would a real product, and check the edge appearance after finishing.
Keep the test panels and record the results. This baseline lets you compare suppliers and catch batch drift later.
Shanghai Angmi New Material Co., Ltd. manufactures edge banding and adhesives for plywood and panel production, and helps customers identify the best edge banding for plywood through sample testing and machine parameter support.